By Keith Bachman
When I started homebrewing, I was like the vast majority of people getting into the hobby: I learned as much as I could about cleaning and sanitizing, made sure to follow directions on the proper boil time and hop additions, and learned how to be patient by allowing the beer to ferment out completely before racking to a secondary. Being able to make my own recipe was light years away – or so I thought.
Like most, this hobby took me on by storm. I quickly was upgrading my equipment: dumped extract for all-grain, added a wort chiller, made yeast starters, and oxygenated my wort. I also found myself buying and reading more books to understand the full process of what was happening when I was brewing. One of the great things about buying brewing book is that they offer numerous recipes. Whatever book you buy regarding homebrewing or a particular craft beer style, there is at least one recipe that a homebrewer can use in an effort to recreate what the author intended.
While using recipes provided by others is a way to make fantastic beers, I often found myself wanting to create an entirely new beer by redesigning another recipe. Homebrewers are a creative bunch, and this is one way in which I sought to express my creativity. Some of the ideas turned out great (adding espresso to the secondary of a porter) while some were better ideas on paper than in practice (Fruity Pebbles Wit).
Tweaking Your Recipe
How does one go about tweaking a recipe without adding too much/too little of a particular ingredient without going overboard and having an end result that tastes disgusting? The short answer is: a lot of trial and error. While trial and error is one of the joys of homebrewing, it could end up leading to a costly mistake.
Let’s be honest, if you aren’t inclined to drink your homebrew, then nobody else will. Here are a few guides to follow when tweaking a recipe to call your own.
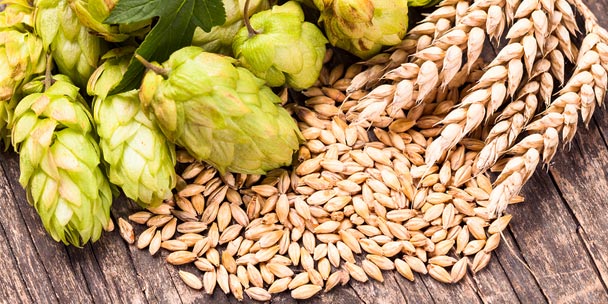
1. Ensure Balance Between Base Malts & Specialty Grains
Maintaining a proper balance between base malts and specialty grains is a very important step in being able to tweak a recipe to make it your own.
If the original recipe called for a ratio of 80% base malt (
2-Row,
Pilsner,
Pale Malt, etc) and 20% specialty grains (Black Patent,
Rye,
Munich, etc), you’ll need to make sure that you don’t overdo changing the ratio around. If you decrease your base malt and increase your specialty malt, a number of things could happen.
First, the increase use of specialty malts will change the starting gravity (OG) of your beer, because specialty malts have less diastatic power than base malts.
Second, many specialty malts have distinct and characteristic flavors that will either become enhanced or muted by changing their proportion. For example, if you increase Black Patent while decreasing Pale U.S. 2-Row, you finished product may taste slightly more astringent than previously.
2. Be Careful When Adding Fruit Additions
Adding fruit is an easy way to turn one beer into a completely different brew, without the need for changing around the base malt/specialty ratio. However, depending on how you add the fruit, you also may be adding simple sugars that are highly fermentable.
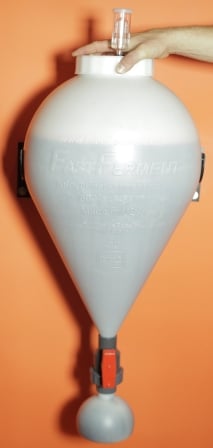
If you don’t try to account for the added sugar, you could either end up with a beer that tastes cloyingly sweet or make a beer that has a higher alcohol by volume than anticipated. One way to combat this is by adding fruit to a secondary vessel after primary fermentation has completed. Be mindful that some fresh fruit have naturally occurring wild yeast on the skin. You can either dip the fresh fruit in StarSan or go to your local grocery store and buy frozen fruit.
Buying frozen fruit is an excellent way to add fruit flavor to a beer for a number of reasons. First, the frozen fruit is going to be free of any microbes that will infect your beer. Second, freezing the fruit helps break down cell walls within the fruit. This means that it is easier to get the juice from the fruit into your beer.
My preferred method is to buy a bag of frozen fruit, let it thaw, and throw it back in the freezer. Prior to adding to the secondary, I thaw the bag of frozen fruit again and then add directly to the secondary. This ensures that the cell walls have ruptured and your fruit of choice can flavor your beer quicker than normal.
3. When Adding Spices, A Little Goes a Long Way
Another simple way to tweak a recipe is by adding spice additions. One of my favorite homebrews is from a friend who makes an excellent porter. During the summer, after he harvests his jalapeño garden, he makes a smoked pepper porter. During the winter, he takes the base porter and makes a mint-chocolate peppermint porter.
While each beer has the same base, adding spices can dramatically alter the flavor of the beer – in each case above, they all were excellent! However, be mindful that certain flavors can easily overpower others. Smoked malts are an excellent addition to add to a recipe, but stay below 2% of your total grain bill or else your beer will end up tasting like you’re eating a campfire log. The same logic goes for mint, cinnamon, clove, or other holiday spices.
Spices can be added to the boil, secondary, or in the bottling bucket/keg.
How I Tweaked A ‘Silver Dollar Porter’ Recipe
One of my first ‘go-to’ books regarding homebrewing was Charlie Papazian’s “The Complete Joy of Home Brewing.” I own the 3rd edition, which has over 50 different recipes homebrewers can use.
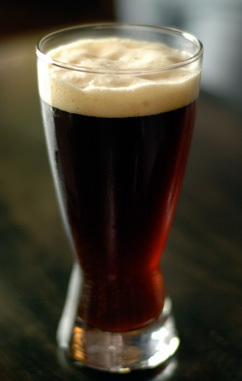
At the time I bought this book, I was head over heels for porters and stouts. They offer a nice balance of bready, chocolate, maltiness without being too heavy on the stomach and waistline.Under the ‘Advanced Homebrewing for the Practical Brewer’ section of Papazian’s book (p. 311-312), there is a recipe for a porter called ‘Silver Dollar Porter.’ This porter was excellent because it had a great balance of chocolate and roastiness while maintaining a medium body.
I wanted to ramp up the recipe and make an imperial porter, so I added more base malt to up the alcohol percentage and added more chocolate and black patent to bring out more of those flavors in the finished beer. Finally, I added fresh espresso to the secondary.
Coffee is an excellent pairing for any darker and maltier beer. There are a number of ways to add coffee to your brew. I choose to add the hot pressed espresso straight into the secondary. There are a few other ways to do it, but this was the fastest/easiest method for me at the time.
My New Recipe: Gold Dollar Imperial Porter
Ingredients:
| Recipe Specs |
| Batch Size: | 5 Gallons |
| Original Gravity (OG): | 1.086 |
| Final Gravity (FG): | 1.020 |
| SRM: | 45 |
| IBUs: | 55 |
| ABV: | 8.5% |
| Apparent Attenuation: | 74.7% |
- 10.0 lbs Pale Malt (U.S.)
- 1.50 lbs Black Patent
- 1.50 lbs Chocolate Malt
- 1.50 lbs Crystal 80
- 1.50 lbs Munich Malt
- 0.50 lbs Flaked Barley
- 0.50 lbs Victory/Biscuit Malt
- 1 oz Cascade (5.50% AA) @ 50 minutes
- 1 oz Northern Brewer (8.5% AA) @ 50 minutes
- 0.5 oz Chinook (13% AA) @ 30 minutes
- 1 oz Perle (8% AA) @ 20 minutes
- 1 Whirlfloc Tablet @ 15 minutes
- 1 package Wyeast 1098 (British Ale Yeast)
Procedure:
- Yeast Starter: Make a 1.5L starter 24 hours prior to brew day.
- Mash Schedule
- Protein Rest: 122°F for 30 minutes.
- Saccharification Rest: 156°F for 30 minutes.
- Mash Out: 168°F for 10 minutes.
- Sparge with 170°F water to achieve preboil volume of 7.5 gallons.
- Boil: Follow the hop/fining schedule outline above for a 60 minute boil.
- Cool wort down to 70°F and pitch yeast slurry.
- Ferment at 67-69° for 10 days, or until fermentation is complete.
- After fermentation is complete, transfer to a secondary vessel. Add 12 shots (approximately 12 fl. oz.) of hot pressed espresso into secondary. Let sit in secondary for 7-10 days.
- Bottle or keg to 2.3 volumes of pressure.


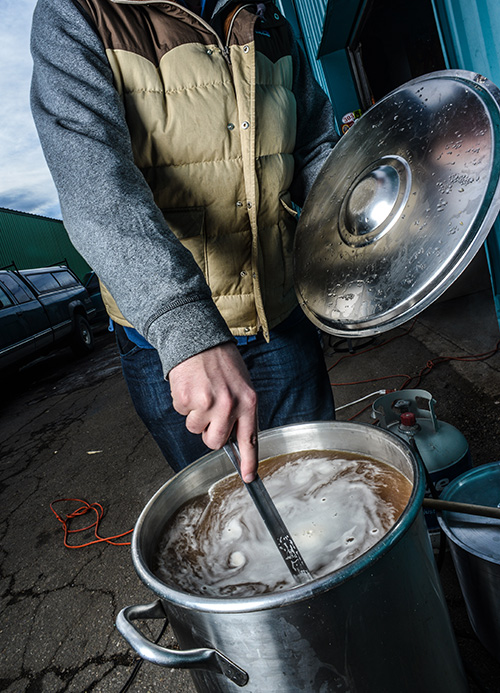
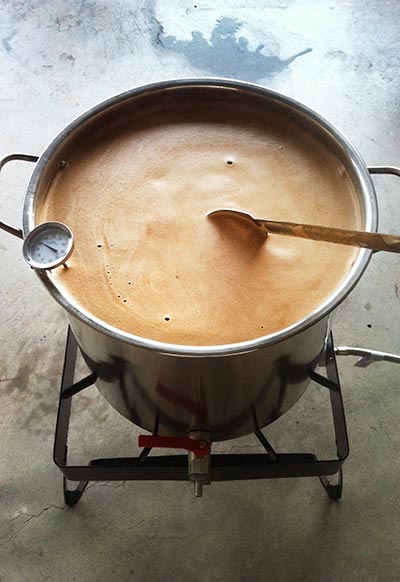
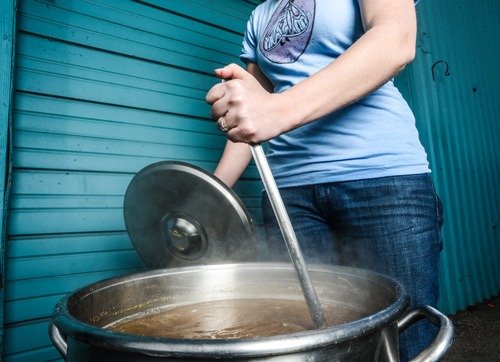 The simplest way, whether using an ice bath, an immersion chiller or no formal chilling method, is to stir the contents of the kettle with a spoon rapidly until a circular current is achieved. Stir along the walls of the kettle for a few minutes, taking care not to splash to prevent any chances of hot side aeration, until a strong, lasting whirlpool forms. Depending on what your goals are (e.g., clarification, hop flavor/aroma), allow the whirlpool to stand for 10-30 minutes before racking.
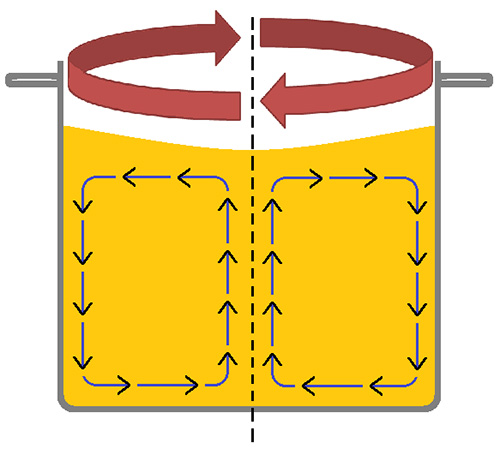 It may seem logical that a whirlpool would send the solid material to the outside of the kettle because of our child hood experiments with swinging a bucket of water around in circle without any falling on our heads. However, because the contents of the boil kettle are light enough, they will collect in the center due to something called the “tea leaf paradox.”